给 VitePress 添加 algolia 搜索
背景
最近在折腾 VitePress,搭建了一个文档项目:ChoDocs,不过文档还不支持搜索功能,虽然目前内容不多,但待我同步完之后,搜索就很有必要了。
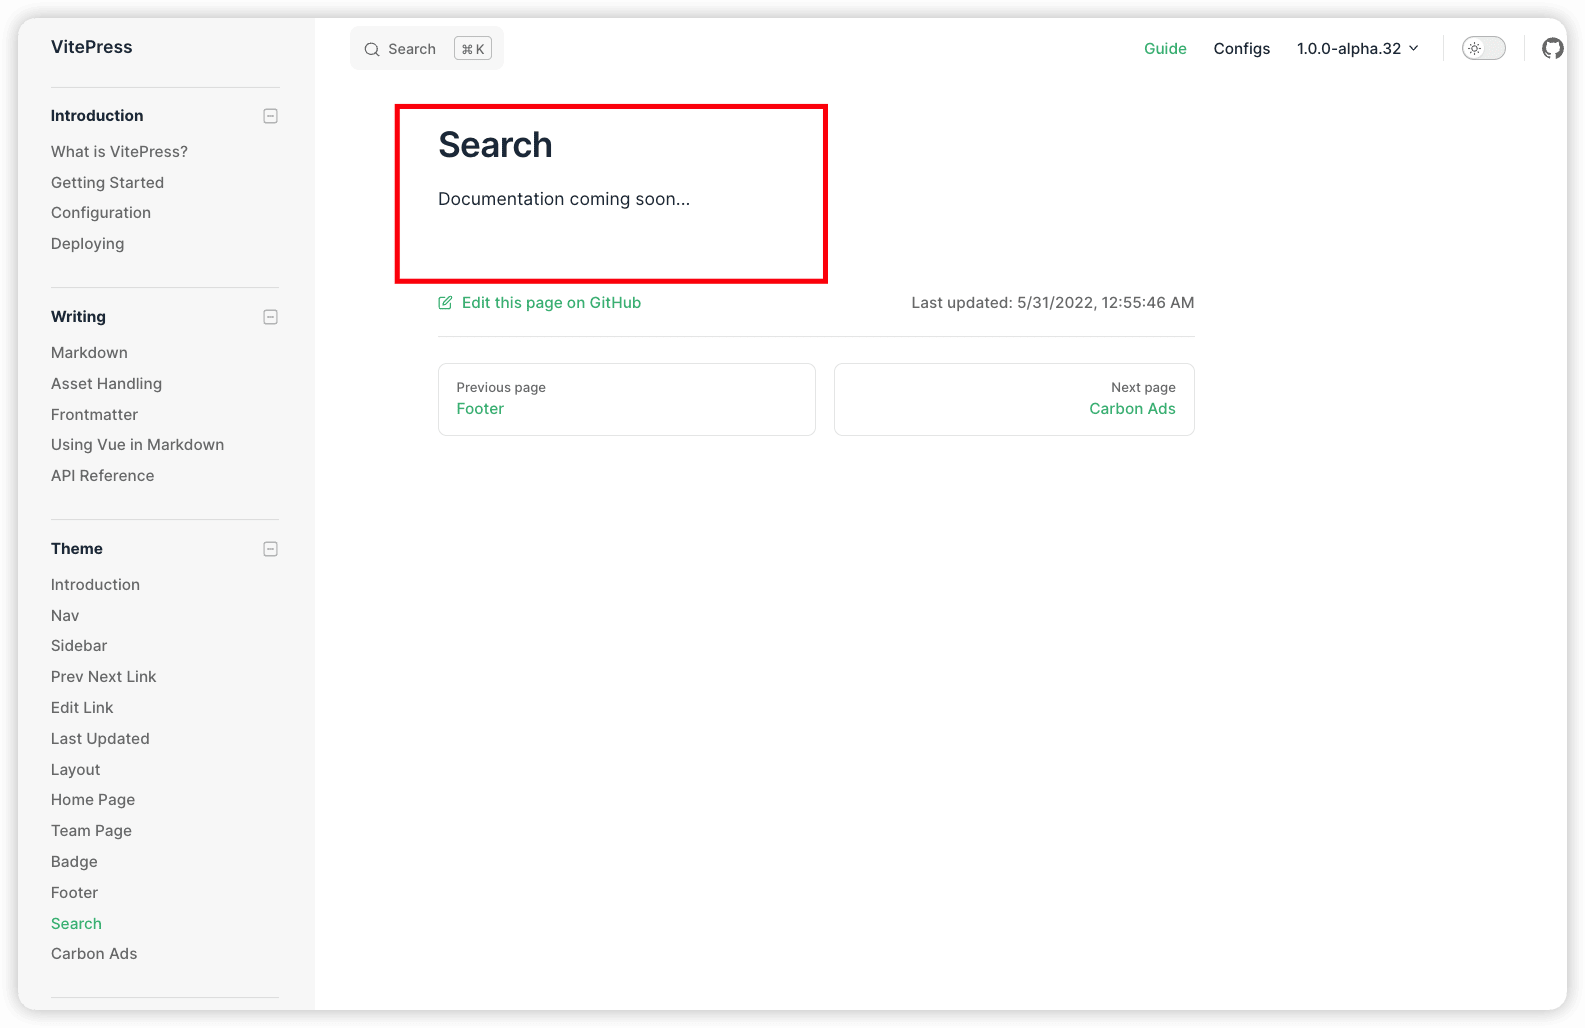
之前看 VitePress 官网发现没有相关介绍文档,不过好在自己对于 algolia 比较熟悉了,于是自己在项目中集成了。
前期准备
账号与创建应用
需要再
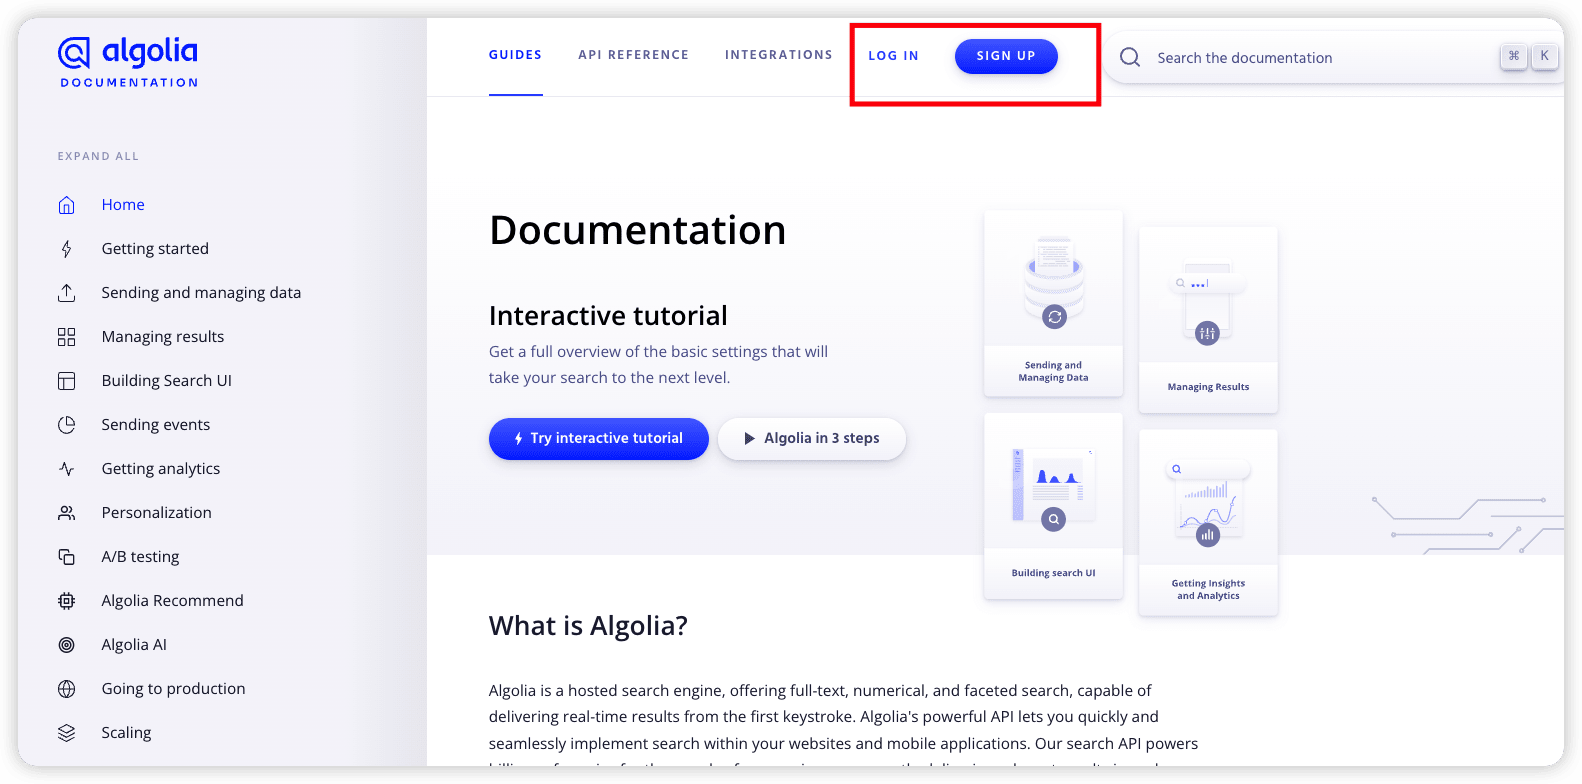
登录之后会进入控制台页面,点击右上角头像,会有一个设置选项,之后来到 Applications 这里,去创建一个应用,以我自己的为例,下图已经创建好了「chodocs」。

配置
获取 key
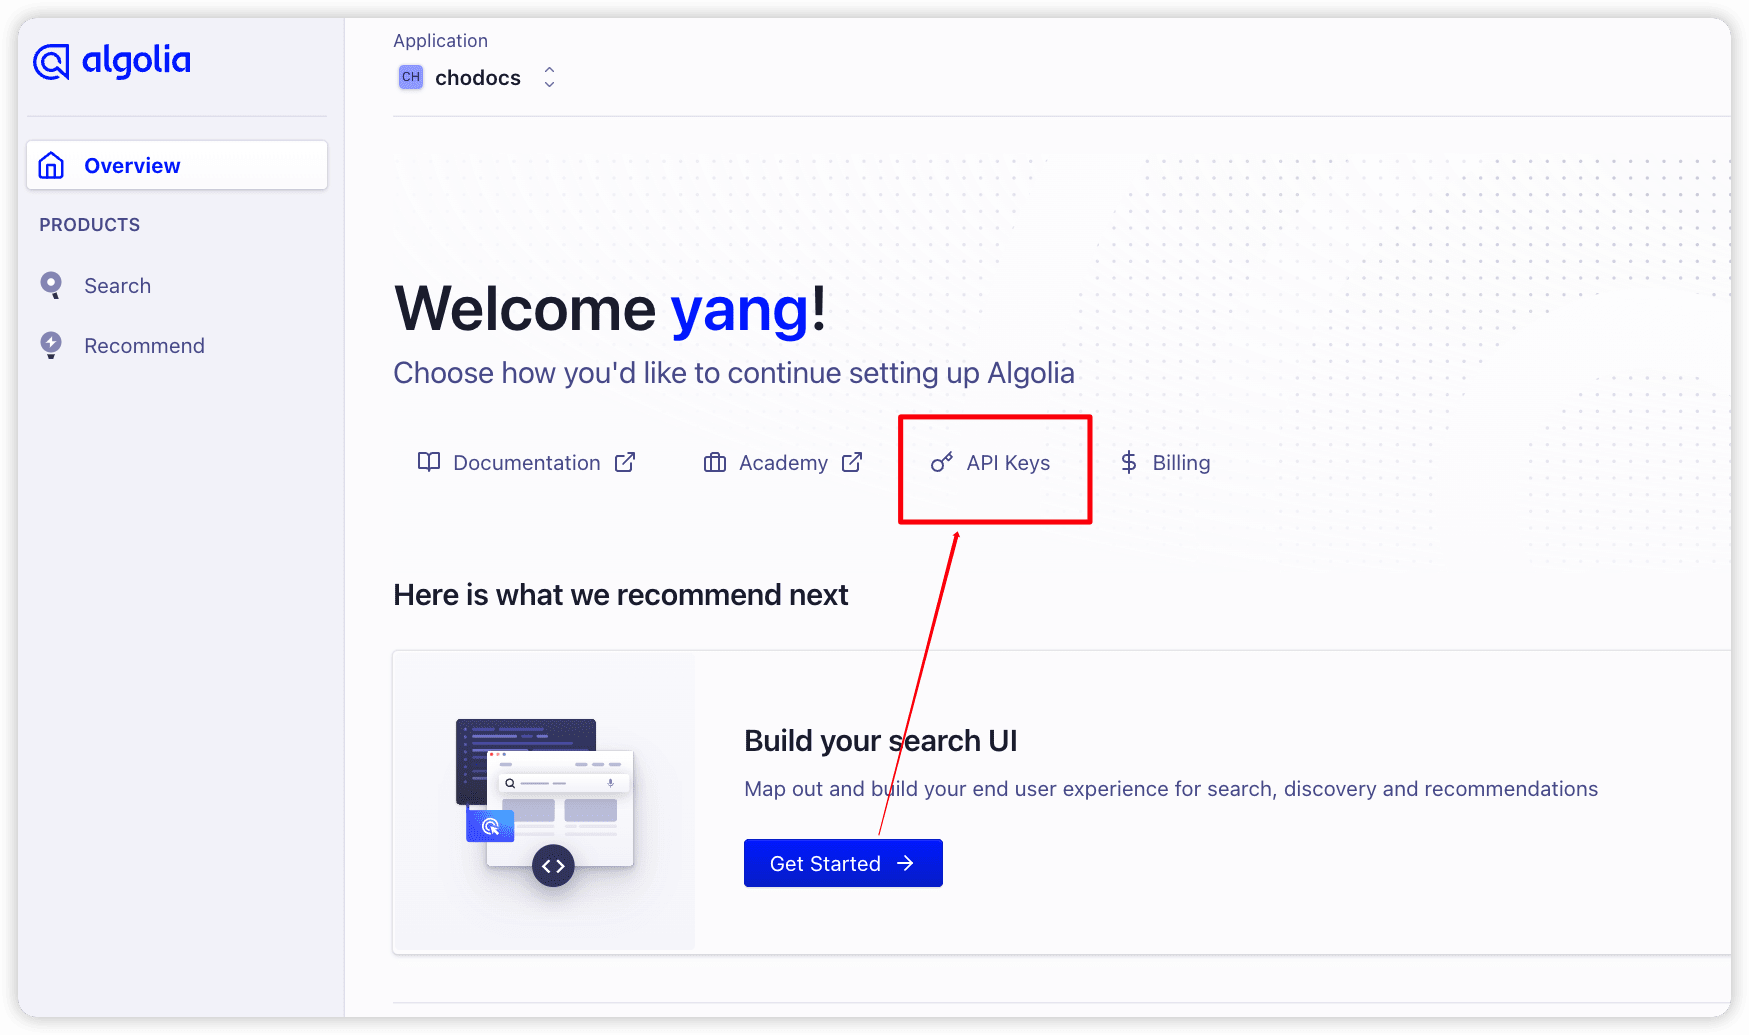
如图下所示,进入 API Keys 页面。
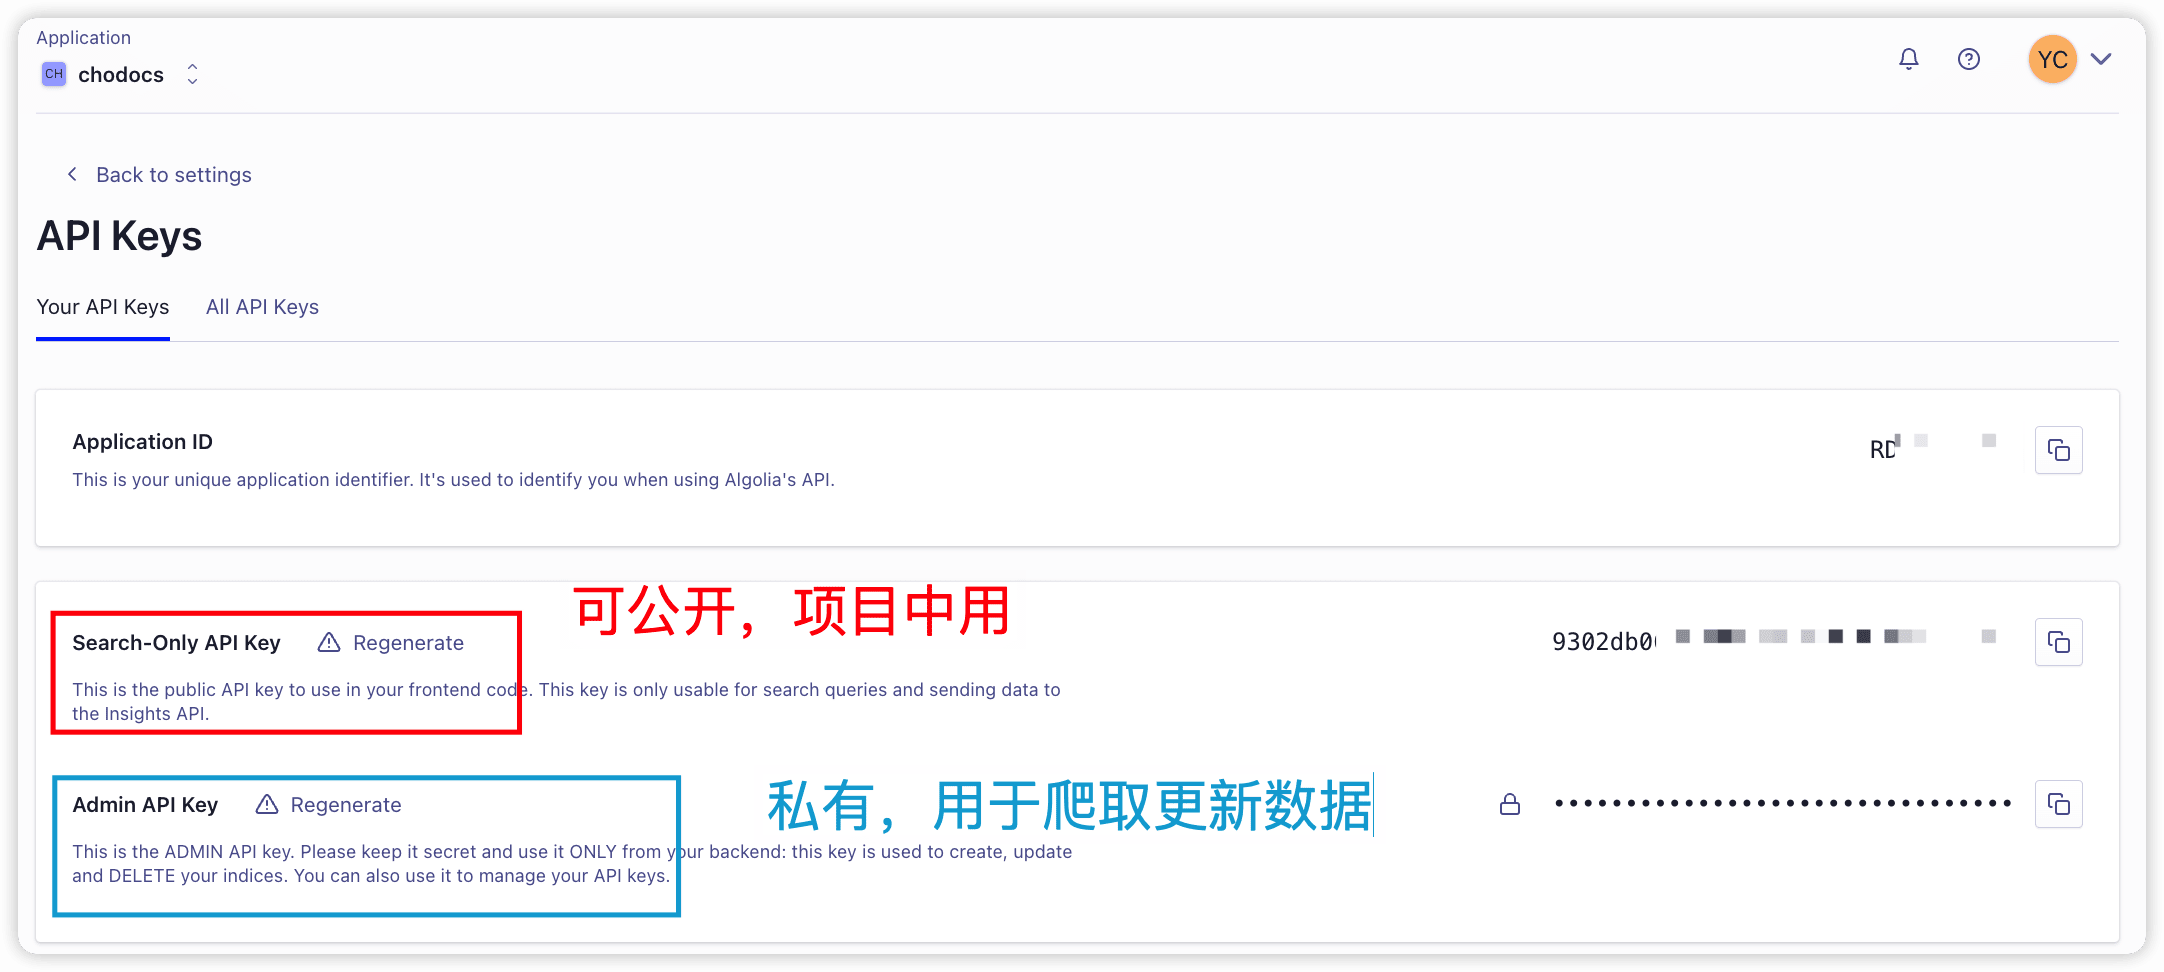
会看到如下界面,一个是可公开的,Search-Only API Key 是待会我们在 VitePress 项目中会使用的,而 Admin API Key 是用于一会爬虫的 key,因为是私有的,所以一会放在 Github Secrets 中。
在文档中填写 key
在上一步我们获取了公开的 key,在这里我们就来配置一下,将上述的 Search-Only API Key 填到 apiKey 字段中,私有的 key 不要填!
修改文件在 docs/.vitepress/config 文件中,具体可参考链接
{
  "xxx": {
    // ...
  },
  "algolia": {
    "appId": "RDDxxx", // 需要替换
    "apiKey": "9302dbxxx", // 需要替换
    "indexName": "chodocs", // 需要替换
    "placeholder": "请输入关键词",
    "buttonText": "搜索"
  }
}
{
"xxx": {
// ...
},
"algolia": {
"appId": "RDDxxx", // 需要替换
"apiKey": "9302dbxxx", // 需要替换
"indexName": "chodocs", // 需要替换
"placeholder": "请输入关键词",
"buttonText": "搜索"
}
}私钥放在 Github Secrets 中
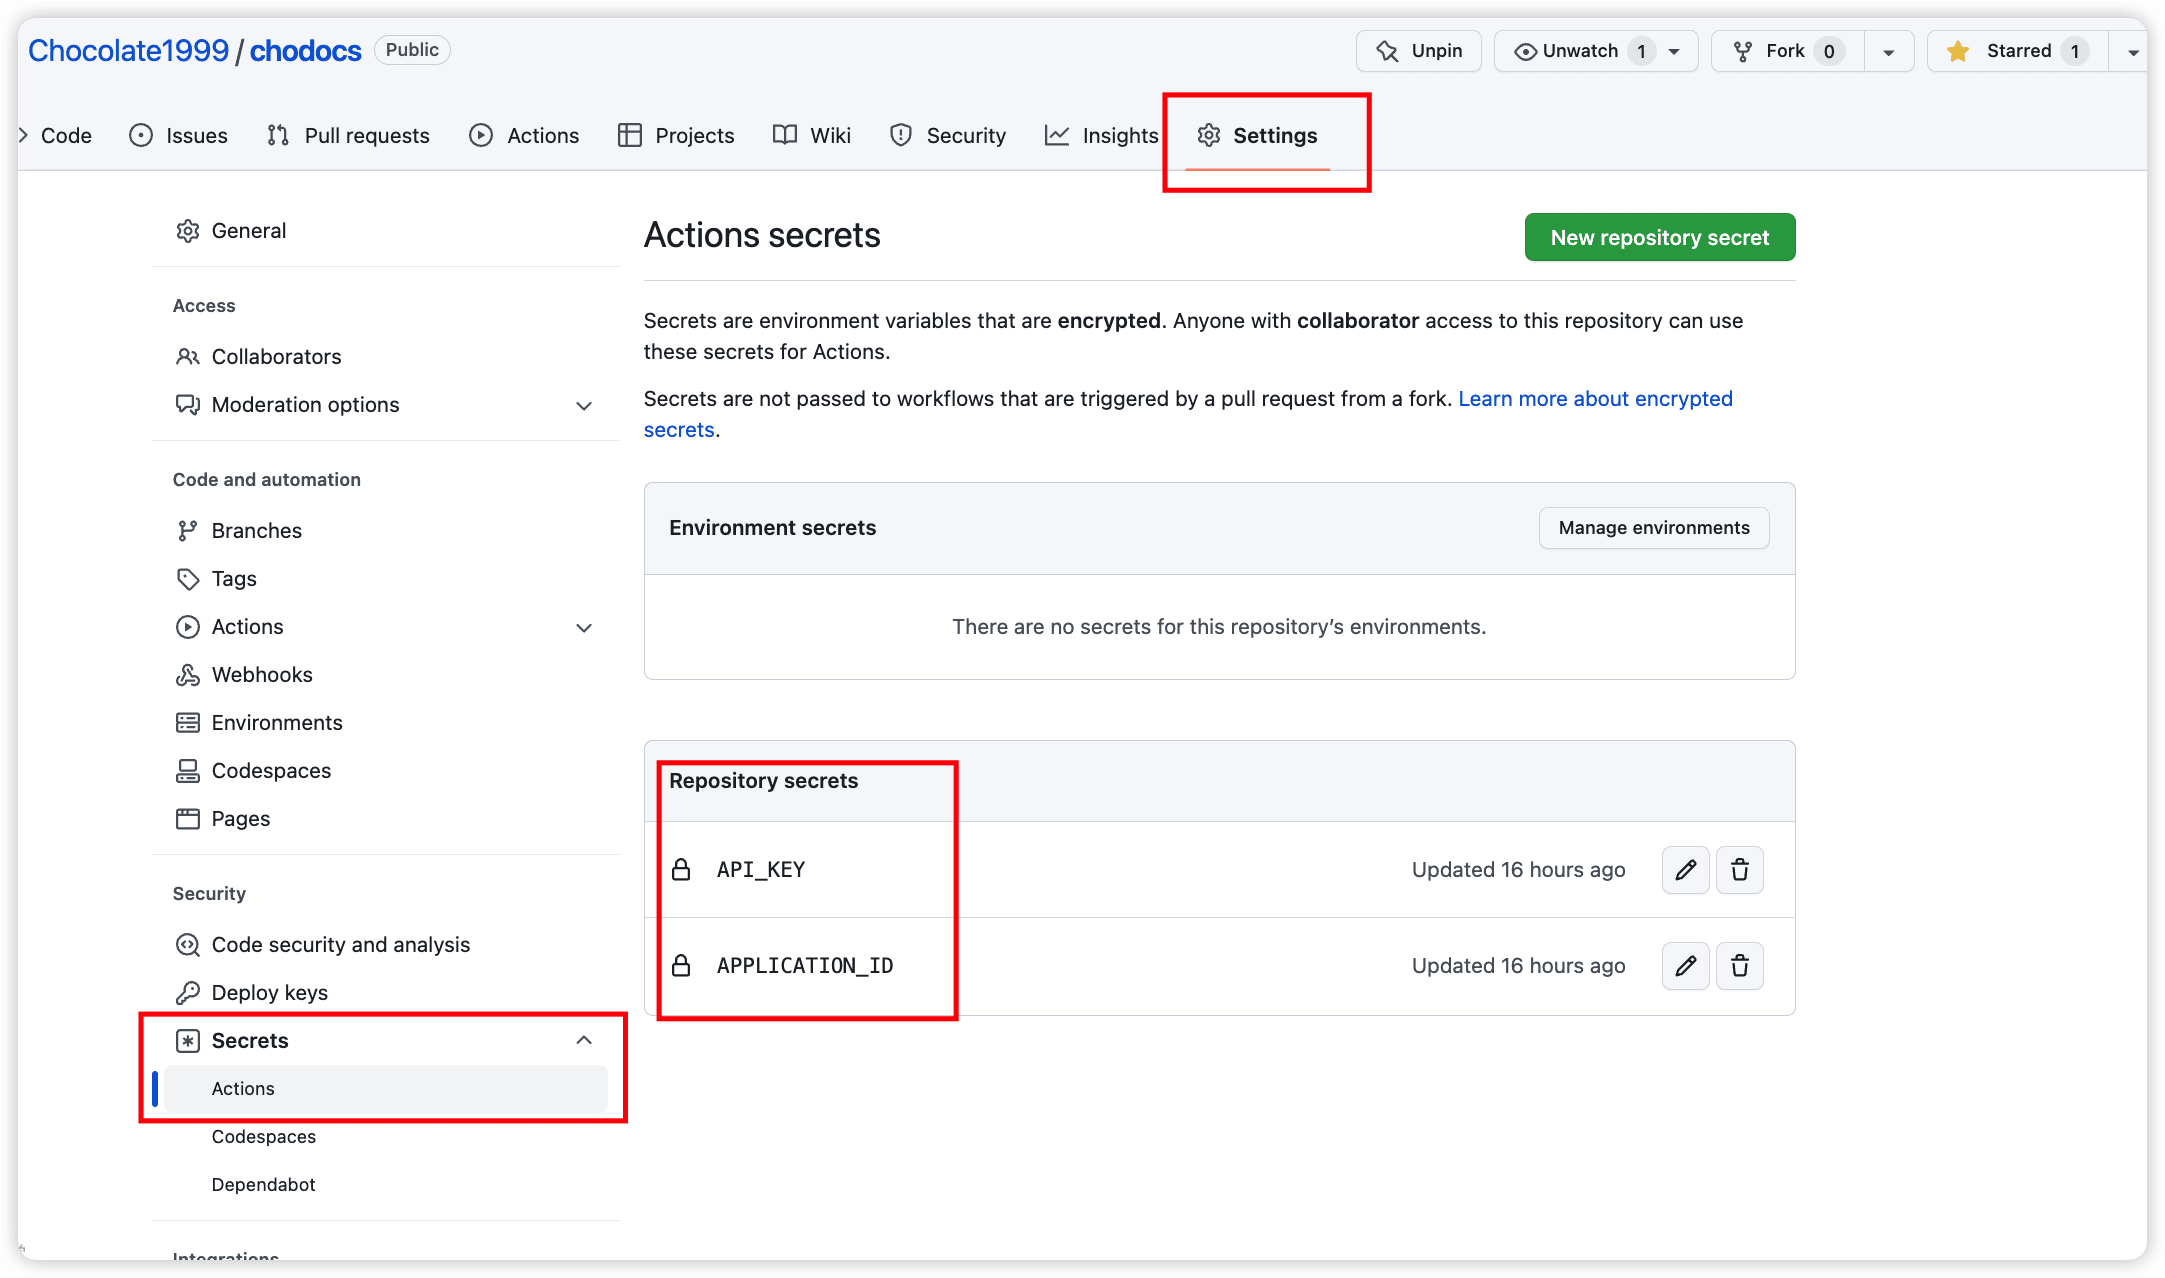
将上述获取的 Admin API Key 添加到 Github Secrets 中,如下图所示,创建 API_KEY 和 APPLICATION_ID 两个字段,一会在 ci 中会使用到。
创建 crawlerConfig.json
在项目的根目录下创建 crawlerConfig.json 文件,内容如下,注意前两个字段需要进行替换。这是告诉 algolia 需要爬取的配置。
{
  "index_name": "chodocs", // 填写自己的索引名称
  "start_urls": ["/"], // 填写自己的网站地址
  "rateLimit": 8,
  "maxDepth": 10,
  "selectors": {
    "lvl0": {
      "selector": "",
      "defaultValue": "Documentation"
    },
    "lvl1": ".content h1",
    "lvl2": ".content h2",
    "lvl3": ".content h3",
    "lvl4": ".content h4",
    "lvl5": ".content h5",
    "content": ".content p, .content li"
  },
  "selectors_exclude": [
    "aside",
    ".page-footer",
    ".next-and-prev-link",
    ".table-of-contents"
  ],
  "js_render": true
}
{
"index_name": "chodocs", // 填写自己的索引名称
"start_urls": ["/"], // 填写自己的网站地址
"rateLimit": 8,
"maxDepth": 10,
"selectors": {
"lvl0": {
"selector": "",
"defaultValue": "Documentation"
},
"lvl1": ".content h1",
"lvl2": ".content h2",
"lvl3": ".content h3",
"lvl4": ".content h4",
"lvl5": ".content h5",
"content": ".content p, .content li"
},
"selectors_exclude": [
"aside",
".page-footer",
".next-and-prev-link",
".table-of-contents"
],
"js_render": true
}编写 CI 脚本
在项目根目录.github/workflows 文件夹下,创建 algolia.yml 文件(名称可更改,自定义),粘贴如下内容:
name: algolia
on:
  push:
    branches:
      - main
jobs:
  algolia:
    runs-on: ubuntu-latest
    steps:
      - uses: actions/checkout@v3
      - name: Get the content of algolia.json as config
        id: algolia_config
        run: echo "config=$(cat crawlerConfig.json | jq -r tostring)" >> $GITHUB_OUTPUT
      - name: Push indices to Algolia
        uses: signcl/docsearch-scraper-action@master
        env:
          APPLICATION_ID: ${{ secrets.APPLICATION_ID }}
          API_KEY: ${{ secrets.API_KEY }}
CONFIG: ${{ steps.algolia_config.outputs.config }}name: algolia
on:
push:
branches:
- main
jobs:
algolia:
runs-on: ubuntu-latest
steps:
- uses: actions/checkout@v3
- name: Get the content of algolia.json as config
id: algolia_config
run: echo "config=$(cat crawlerConfig.json | jq -r tostring)" >> $GITHUB_OUTPUT
- name: Push indices to Algolia
uses: signcl/docsearch-scraper-action@master
env:
APPLICATION_ID: ${{ secrets.APPLICATION_ID }}
API_KEY: ${{ secrets.API_KEY }}
CONFIG: ${{ steps.algolia_config.outputs.config }}解释一下:这里 yml 就是使用 Github Actions 在 Docker 中执行的 AlgoliaDocSearch scraper action,当我们推送到 main 分支时就会立即执行这个任务,当然如果你是 master 分支只需要修改 branches 那里的值即可。
结尾
关于这个搜索个人觉得只是满足了基本的需求,而 algolia 官网的那个搜索才会功能更全面,而我之前在公司项目中就根据官网效果做了一个搜索,可以访问
预计 23 年我会把这个搜索做一份开源版本,敬请期待。
